Buses in Japan are a fantastic way to explore local neighborhoods where trains can’t reach.
But for many visitors, figuring out how to ride them can be a little intimidating.
This guide breaks it all down into simple, easy-to-follow steps.
You’ll be navigating the bus system like a pro in no time.
What You’ll Learn in This Guide
- How to board the right way and get a ticket.
- How to find your fare on the digital screen.
- When and how to signal your stop.
- How to pay with cash or an IC card (like Suica/PASMO).
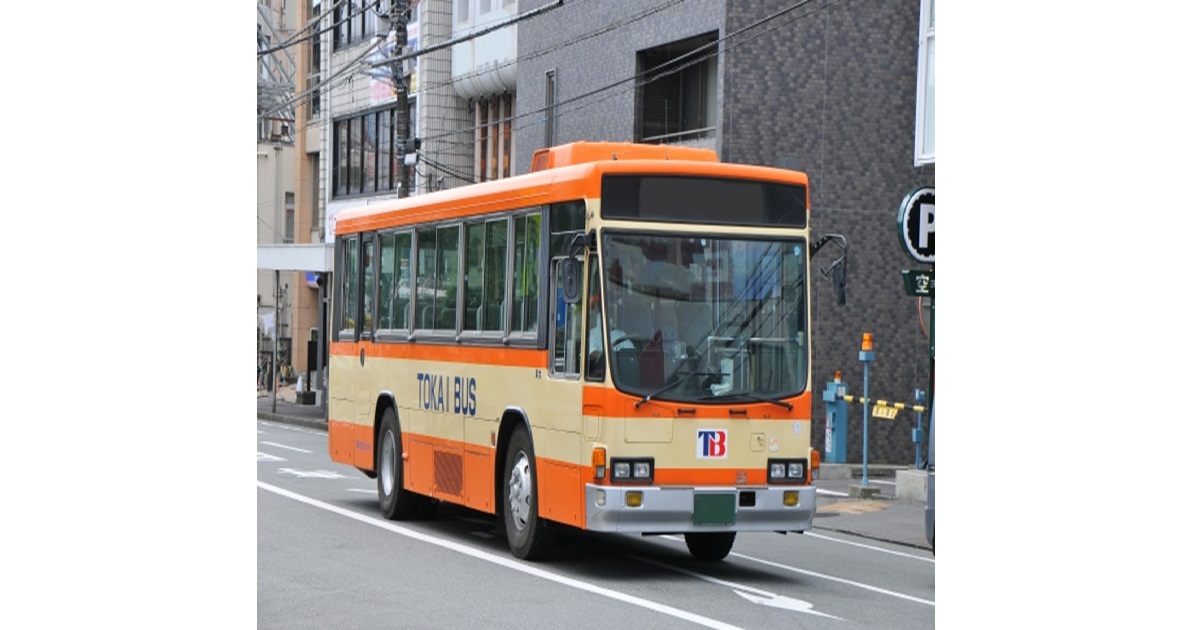
Step 1: Boarding the Bus
In most of Japan, bus boarding follows a simple pattern.
Your action: Enter through the **middle or rear door** of the bus.
If Paying by Cash:
Look for a small machine right by the door you entered.
Take a small paper ticket called a seiri-ken (整理券).
This ticket has a number on it, which marks your starting point.
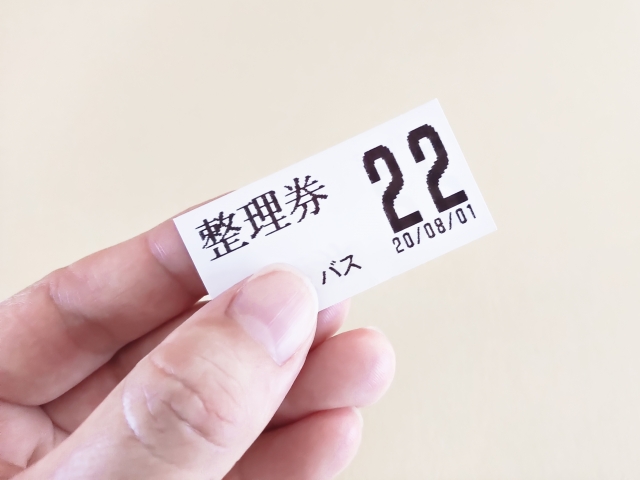
Hold onto this ticket.
You’ll need it to calculate your fare when you get off.
If Paying with an IC Card (Suica, PASMO, etc.):
Find the IC card reader by the door.
Simply tap your card on the reader.
You’ll hear a “beep” to confirm.
You do not need to take a paper ticket.
For a complete guide on these essential travel cards, check out our Tap & Go Japan guide.
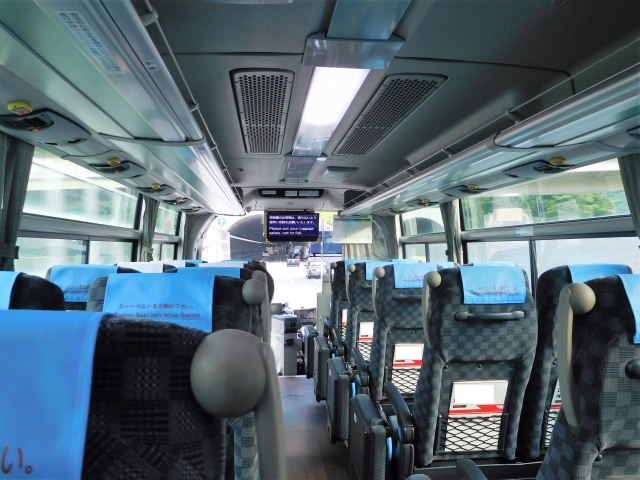
Step 2: During the Ride
Once you’re on board, keep an eye on the large digital screen at the front of the bus.
This screen shows two things: the next stop and the fares.
Your fare is displayed below the number that matches your paper ticket (seiri-ken).
The price will increase as the bus travels further.
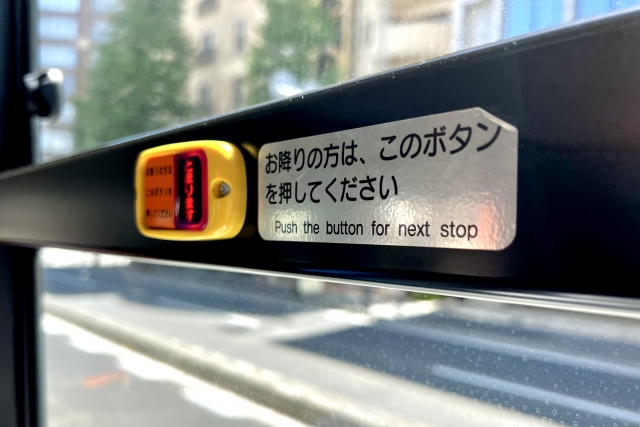
When you hear or see your stop announced, get ready.
Your action: Press one of the **stop buttons (降車ボタン)** located on the walls and poles.
A light will confirm that the driver knows to stop.
Not sure about the stops?
Use Google Maps on your phone to track your location in real-time.
Constantly checking routes on your phone can drain your battery fast.
A reliable power bank is a lifesaver for any traveler in Japan.
We recommend this popular and compact model from Anker to keep you connected all day.
→ Check out the Anker Power Bank on Amazon
And for overcoming language barriers, our guide on the best app combos is a huge help.
Step 3: Paying and Getting Off
When the bus arrives at your stop, move to the front.
Your action: Exit through the **front door**, paying your fare at the machine next to the driver.
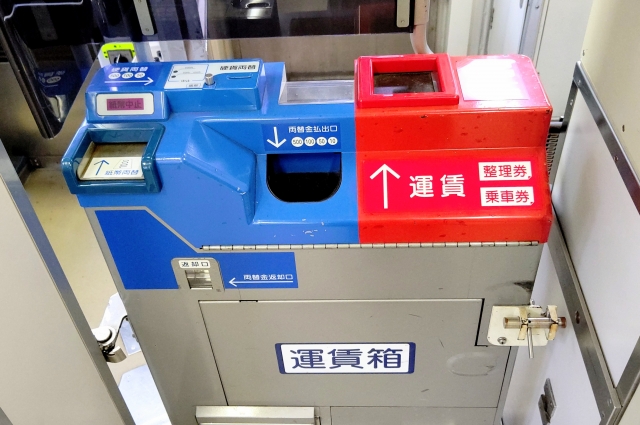
Paying with Cash:
- Find the fare on the screen that matches your ticket number.
- Drop both your paper ticket and the exact fare into the payment slot.
- Important: The machine does not give change.
- If you need change, use the attached change machine for 1,000 yen bills and coins *before* it’s your turn to pay. It won’t accept larger bills.
Need a refresher on Japanese money?
Our guide to Japan’s yen has you covered.
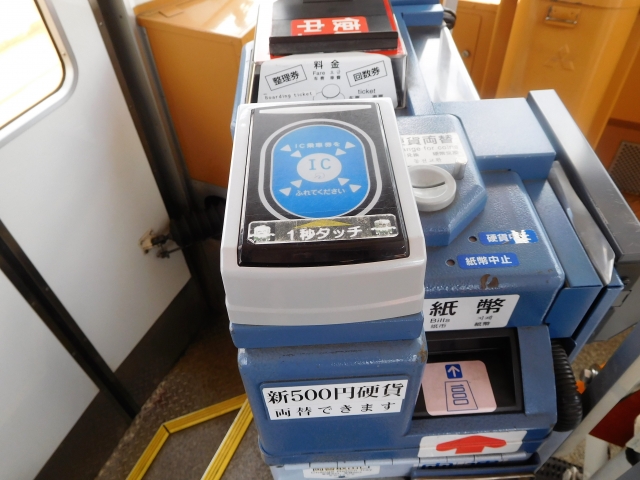
Paying with an IC Card:
- Simply tap your IC card on the reader on top of the fare box.
- The correct fare will be deducted automatically.
- You’ll hear a “beep,” and you’re all set. Easy!
Quick Tips for a Smooth Ride
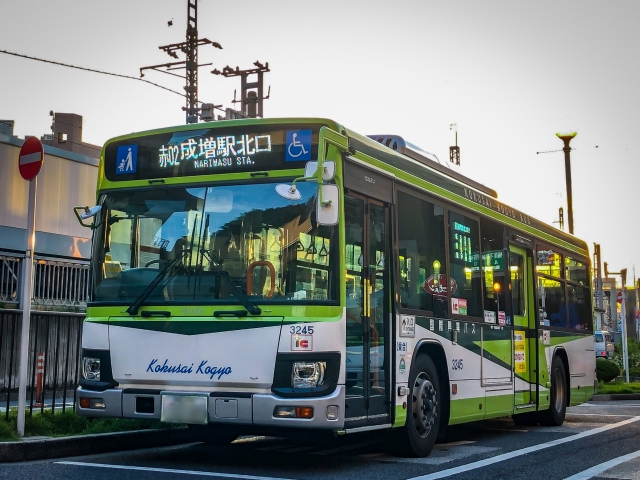
- Flat-Fare Buses: In some city centers (like central Tokyo), the system is reversed. You board at the front, pay a flat fee right away, and exit from the back.
- Priority Seating: These seats are for the elderly, pregnant individuals, and people with disabilities. Please be ready to offer your seat.
- Google Maps is Your Friend: Use it to find bus routes, stop locations, and live schedules. It makes everything much easier.
Riding the bus opens up a whole new side of Japan that you can’t see from the train.
It might seem complex, but after one ride, you’ll realize how straightforward it is.
Enjoy the journey and the local scenery!
If you found this guide helpful, please give it a like!